BK's Space Bucket
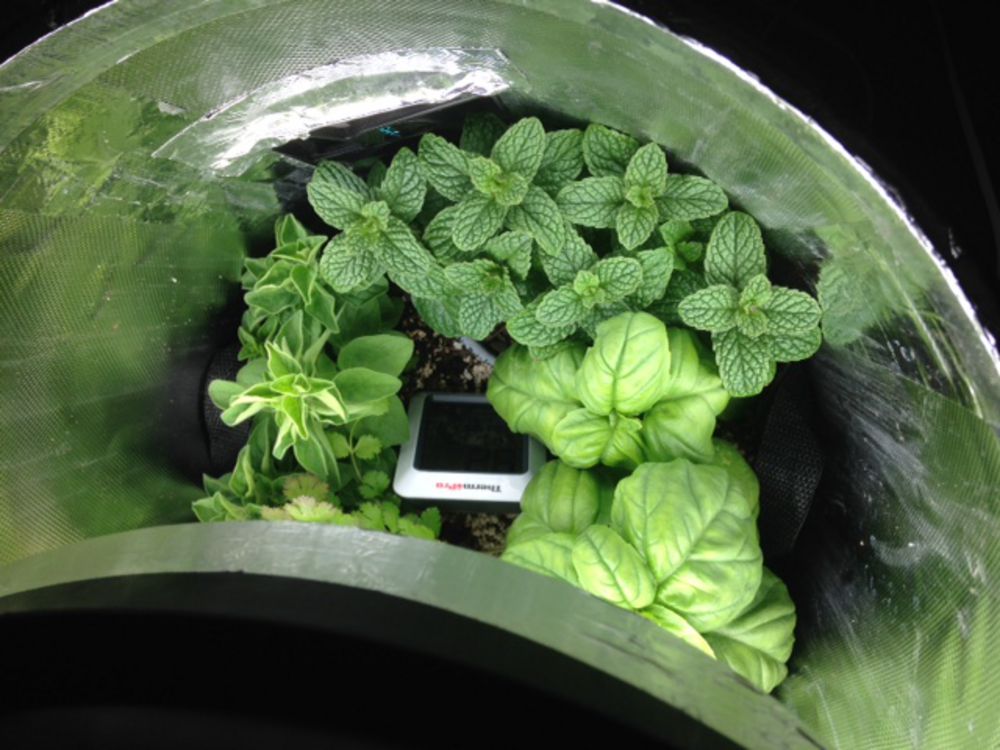
When building this all cutouts were made using a jig saw. One thing that is different on this than others I have seen on the site is that others place a row of screws around the drain pan to keep the main bucket elevated out of the bottom of the pan. Instead of a row of screws, I used a section from the middle of the bucket which I cut a vertical slit in, and just placed it in the drain pan. Another thing that I noticed was that I place my plants into a 3 gallon fabric bag (A little tight, so I’ll probably use a slightly smaller fabric bag in the future) which fits down inside the main bucket (to make it easy to remove the plants if necessary), and I realized that a 5 gallon bucket wasn’t deep enough since the top of the fabric bag was higher than my intake fans. I needed the top of the bag to be just below the intake fans. So I extended the main bucket by about 4 inches (8 inches from bottom of a bucket and taped the extension to the main bucket with 4 inches of overlap). I also covered each seam and edge where Mylar was used with foil tape, which should provide less problems down the road.
First Bucket
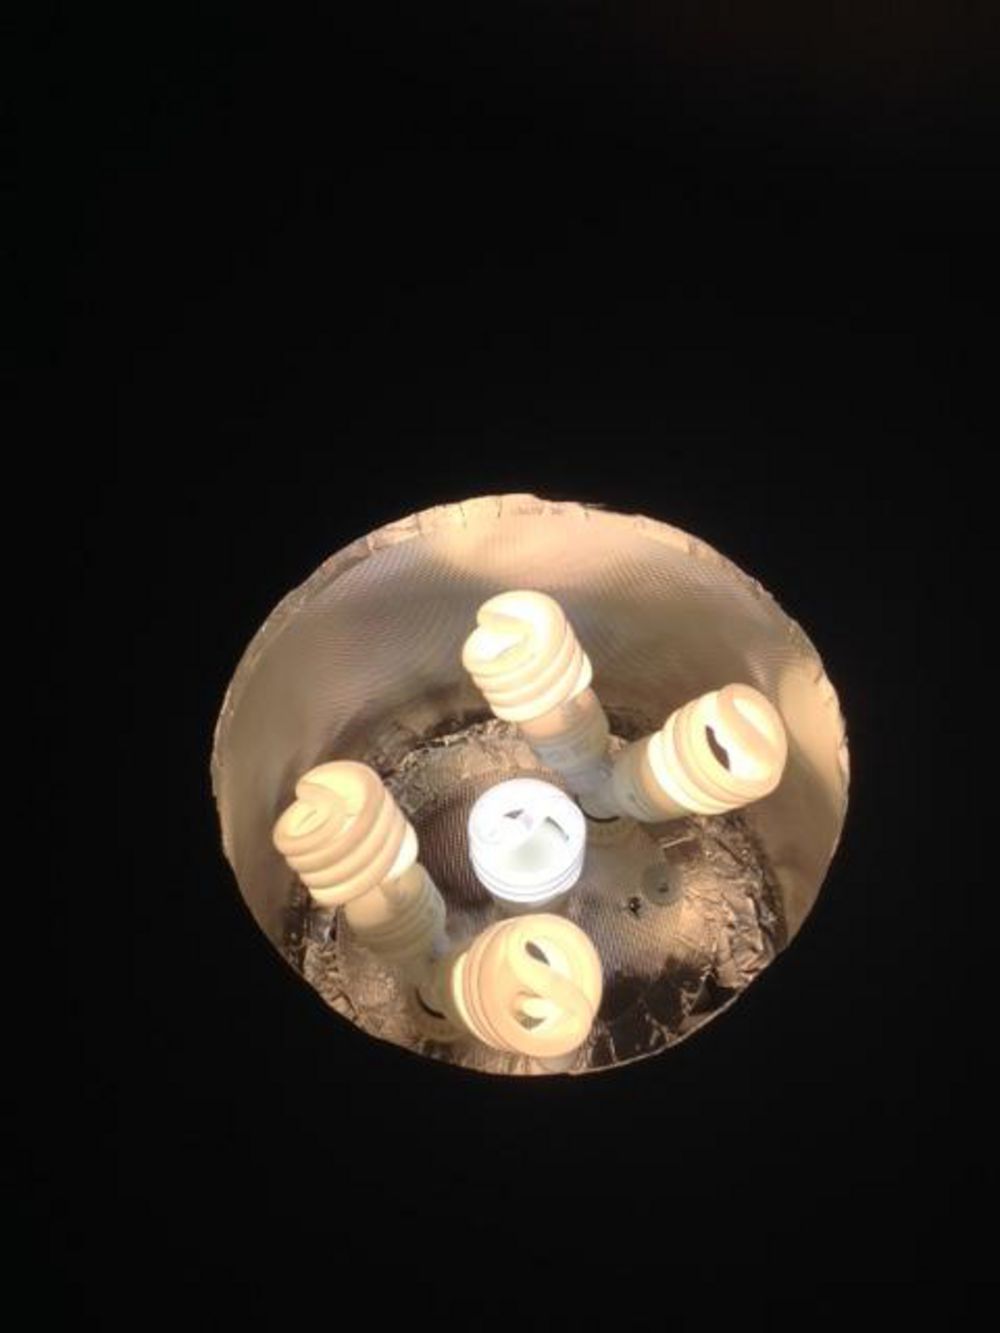
Drill 1 1/2 inch holes in bottom of bucket for lamp holders. One in center and other 2 approx 2 1/2 inches from center on straight line. Cut bottom of bucket out approx 1 inch from edge. This will be referred to as light spacer. Cut remainder of bucket bottom off bucket. This will be the Main bucket. Cut holes for side fans about 1/2 inch below protrusion of bucket. Second Bucket
Cut bucket approx 8 inch from bottom. Drill some 1/2 holes in the bottom of bucket for drainage. (Bottom part used for extension of main bucket, Top Part will be a bucket spacer) Third Bucket
Cut bucket approx 8 inch from bottom. Cut approx 2 1/2 inch from the top of the 8 inch piece that you just cut off, and cut a vertical slit so it can be easily coiled into the drain pan. (The remaining 5 1/2 bottom will be the drain pan, the 2 1/2 piece will be a drainage spacer to place in the drain pan to keep the main bucket raised, The remaining top piece will be a bucket spacer) Fourth Bucket
Cut bucket approx 4 inch from bottom. (Top part will be housing for lighting. Bottom part can be used as temp drain pan when you are removing the main bucket from the 'actual' drain pan when you need to empty the 'actual' drain pan) Bucket Lid
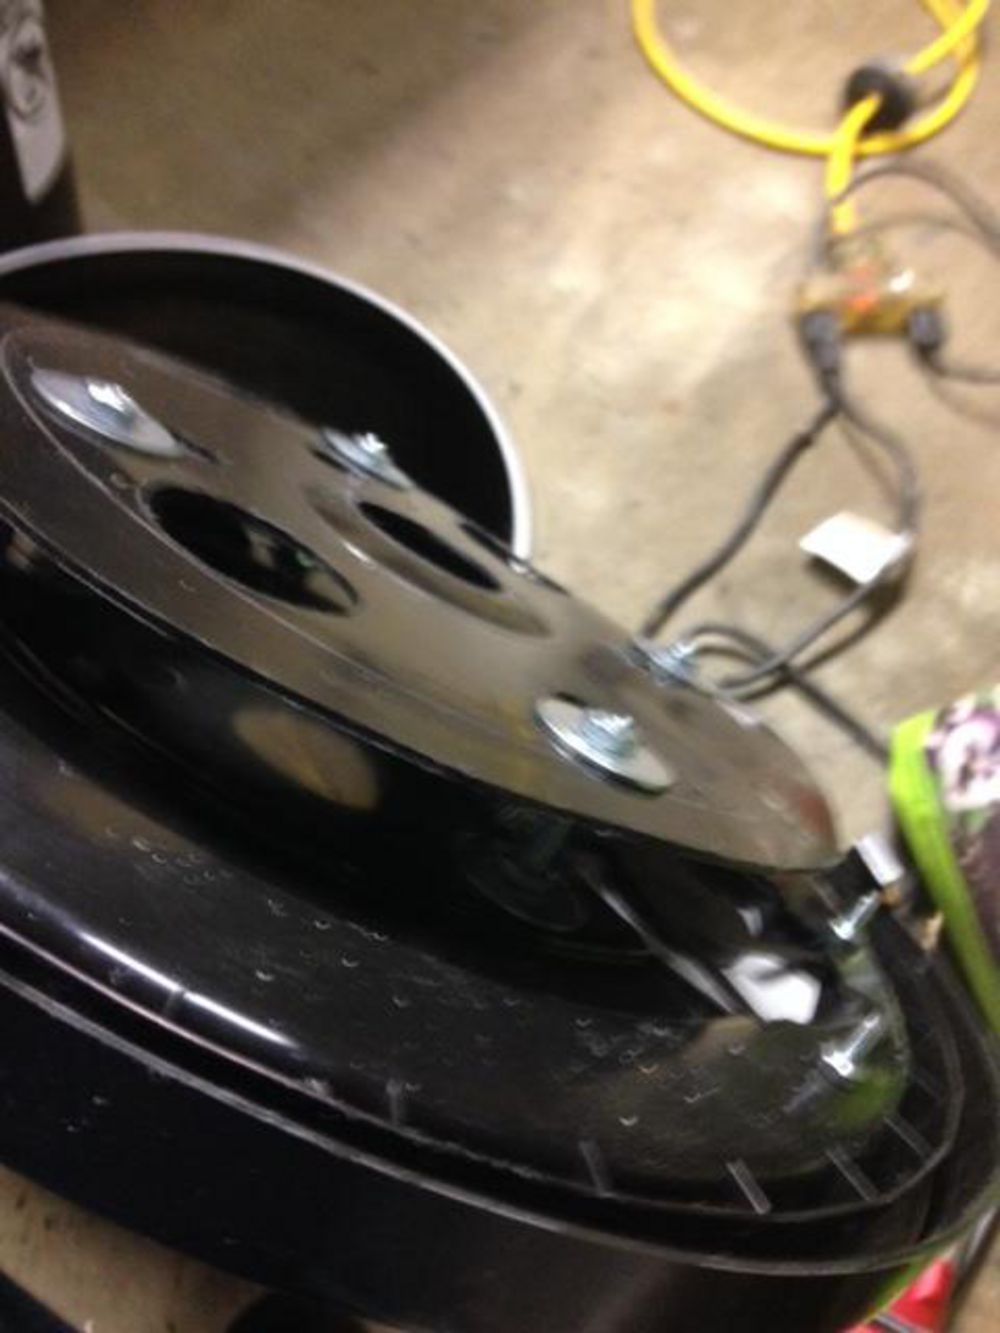
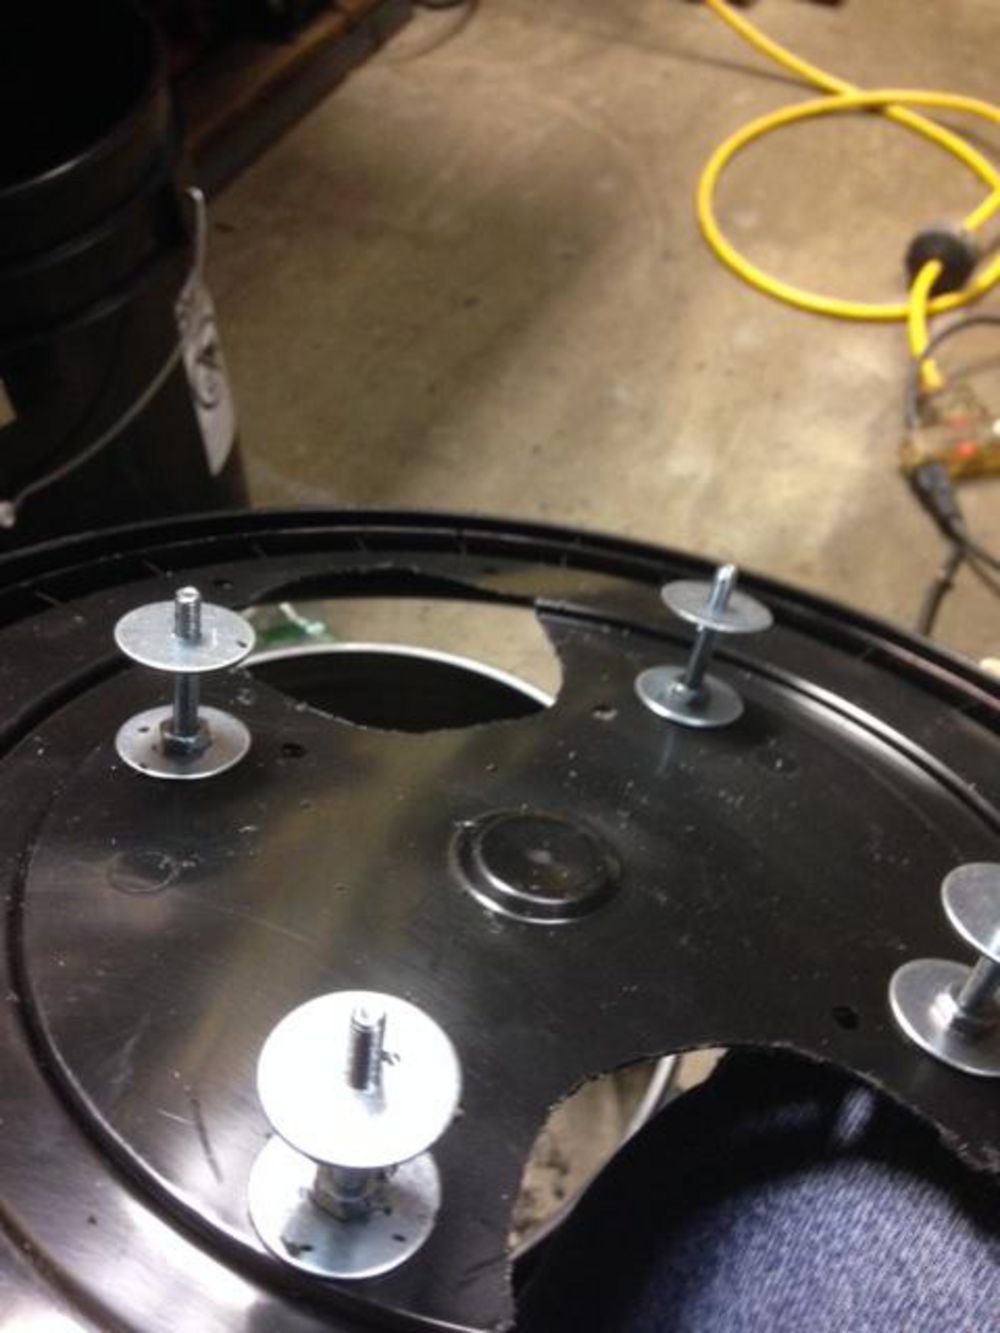
Cut round holes for fan exhaust. (Mark outside of fan, and find appropriate size can to mark circle in center) Place the bottom that you cutout from the first bucket (Light Spacer) in the center of the lid and drill 4 holes to mount to the lid. (when drilling the holes they should be at least a 1/2 inch away from the protrusion on the lid, so the flat washers will sit flat) Position the Light Spacer so the 3 holes you drilled for the Lamp Holders are at a 90 degree angle to the fan holes you just cut. (4 screws will be used to mount and space from the lid. Put screws in as you go to hold in position). Position fans and drill mounting holes. (Inside 2 holes for each fan will be in the light holder area) Drill the holes that are thru the Light Spacer out to 1/2 inch to allow access to the fan mounting nuts later (in case you have to replace a fan) There is probably a protrusion on the top of the lid that you will need to cut away to allow the fan to sit flat. Assembly
BUCKET TOP Take bucket top and secure fans with screws, with fan air direction being up and away from bucket. Place 4 screws with flat washers on inside and out and secure with nuts. Position power strip and drill small holes either side of cord and both sides about 1 inch from bottom and secure with wire ties. Cover the bottom of the light spacer with Mylar. After adhesive has dried, cut Mylar away from holes. And install lamp holders. Drill small hole in bucket top for electrical cord. Cut female end from extension cord off, push through hole and make wiring connections to the light sockets. Wire tie top and bottom for strain relief. run nuts down the 4 mounting screws approximately 3/8th s of an inch. Place flat washer on each one. Place Light Spacer onto the 4 mounting screws, place flat washer on each screw, and secure with nut.


